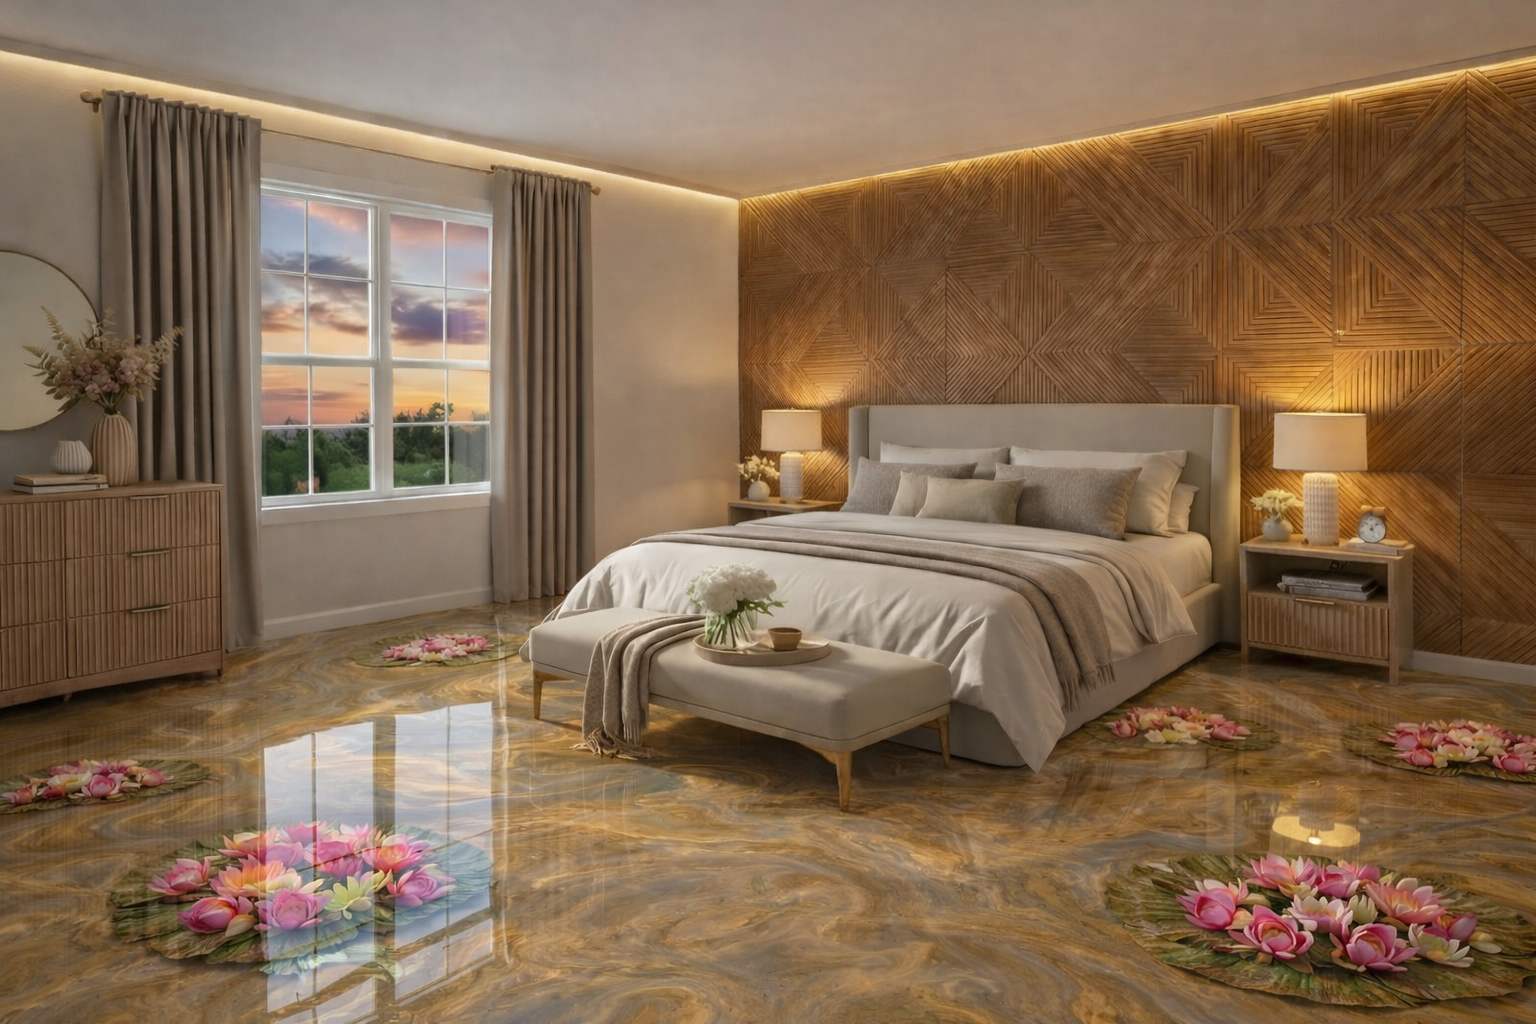
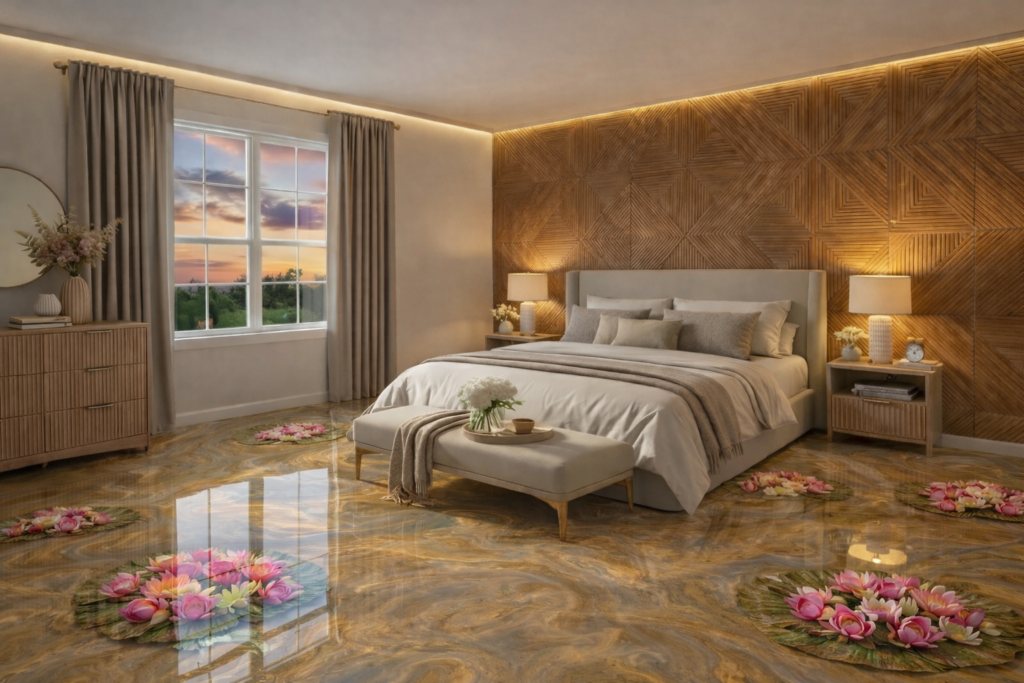
If you want a high-impact bedroom upgrade without a full renovation, simple-install modular wall panels are one of the fastest and cleanest options. This guide focuses on installing full, square panels in a clean grid—no random slats, no patchwork—so the result looks premium and intentional.
Buy Items in links below:
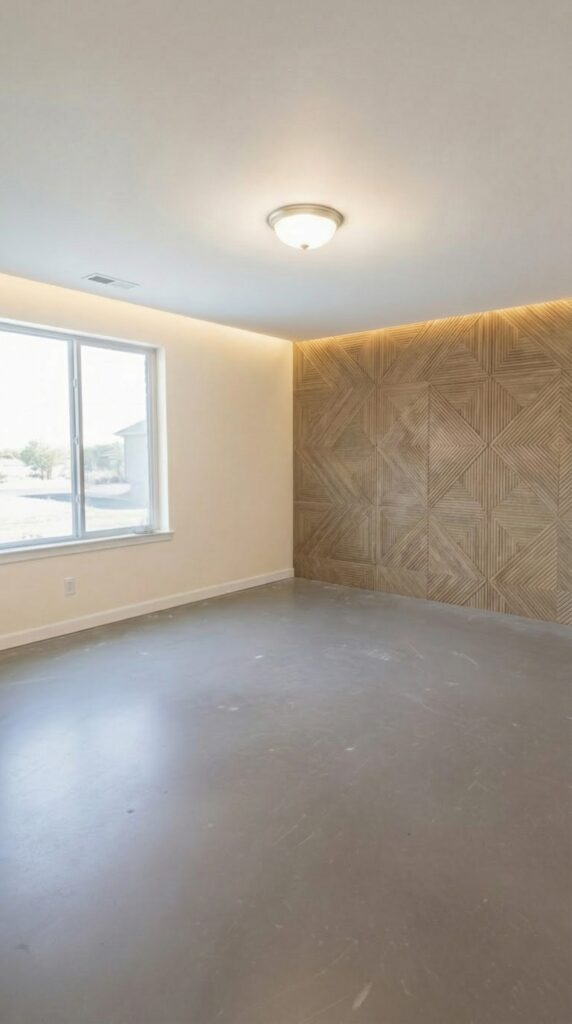
- Acoustic Wall Panels Arcadian Vortex
- Amada Modern 6 Drawer Dresser
- Amada Fluted Nightstand with Charging Station Natural Oak 2 Pack
- PoKat 23″ Modern Ceramic Table Lamp Set of 2
- White COB Led Strip Lights Max with RF Remote
Some links on our website are affiliate links — we may earn a commission.
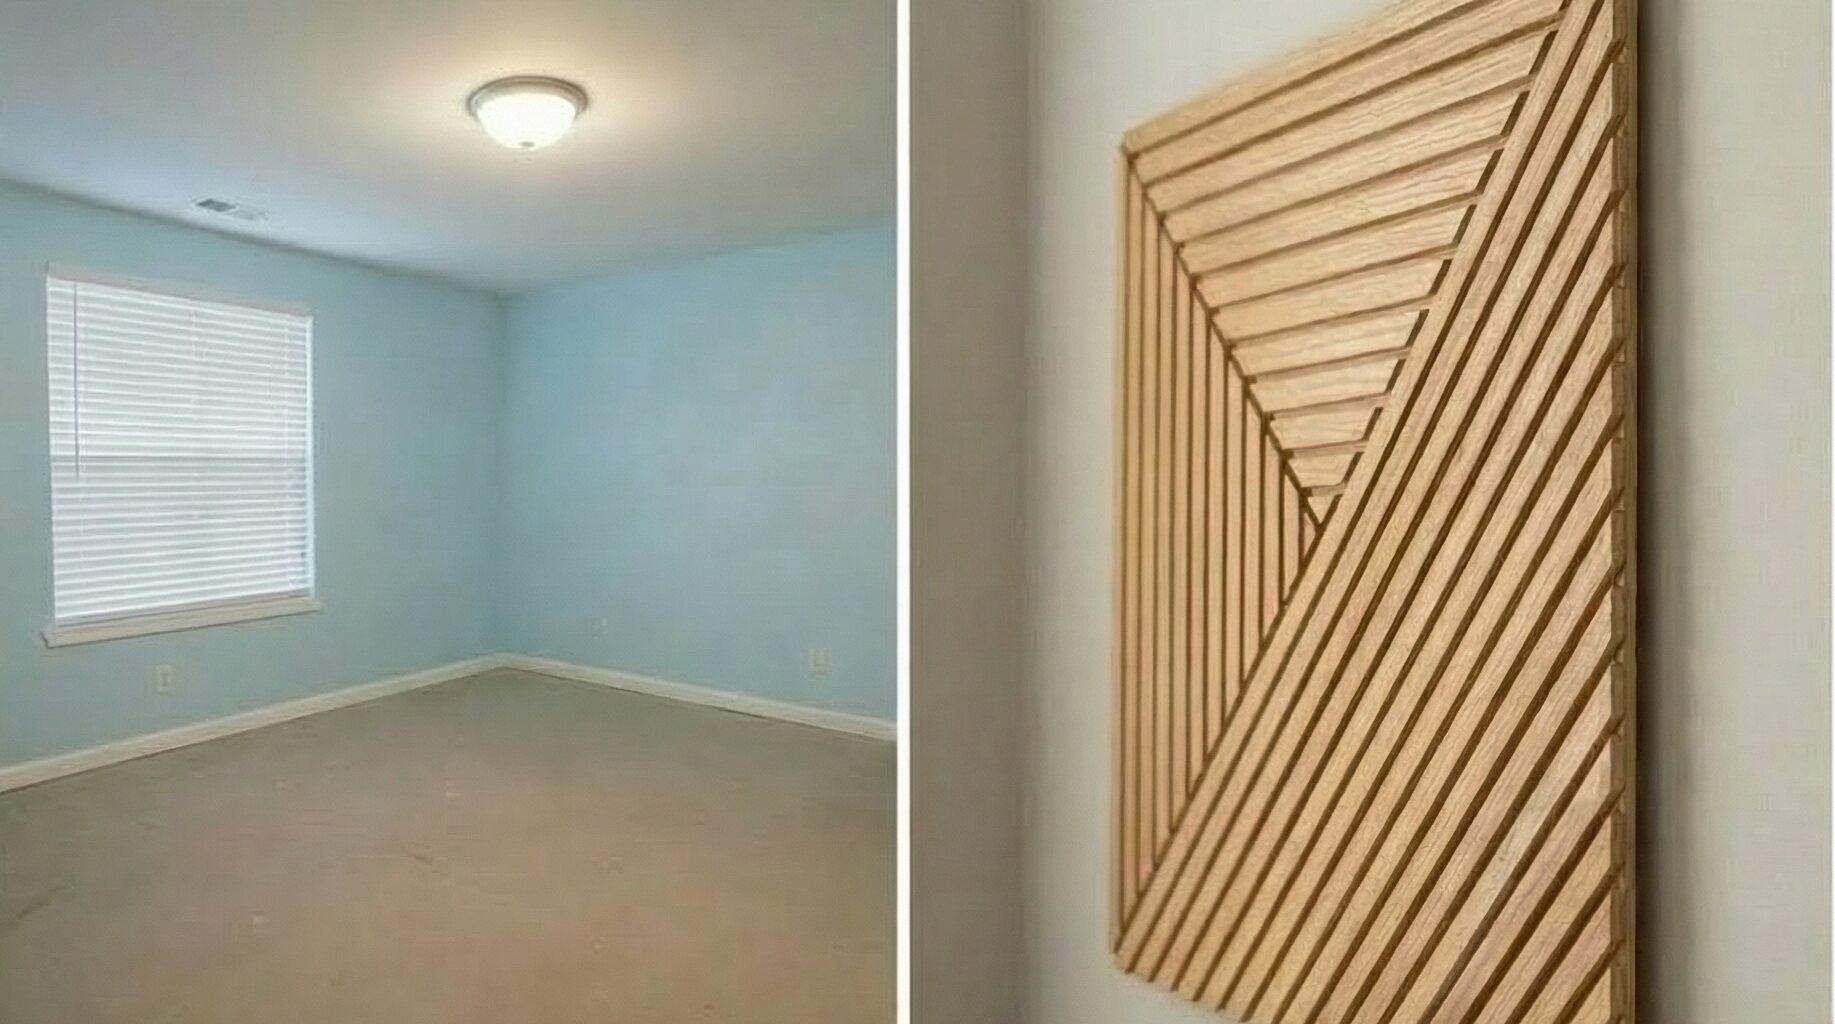
Step 1: Plan the panel layout (most important step)
Measure the full wall width and height. Before opening adhesive, dry-plan the layout so the wall is made up of full panels installed row-by-row. Aim for balanced cuts on the left and right edges rather than thin filler pieces on one side.
Use painter’s tape or pencil lines to visualise the grid. This step prevents misalignment later and keeps the finished wall looking symmetrical.
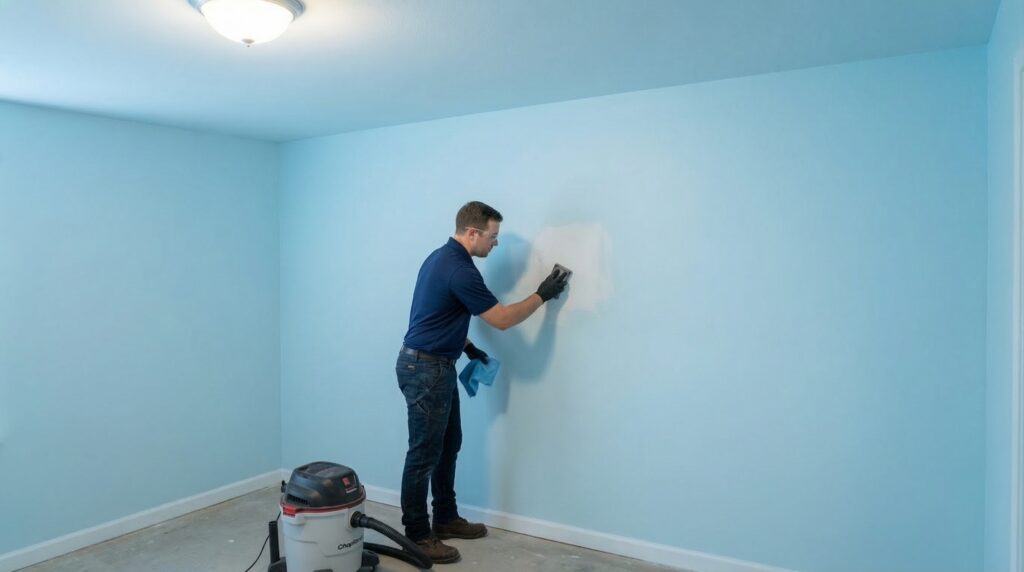
Step 2: Prepare the wall surface
Remove hooks, patch holes, sand down bumps, and wipe the wall clean. Panels adhere best to a flat, dust-free surface. If the wall is glossy, lightly scuff it so the adhesive grips properly.
This step is quick but critical for long-term durability.
Step 3: Set level and plumb reference lines
Use a laser level (recommended) or spirit level to mark:
- A horizontal baseline (usually just above the skirting)
- A vertical plumb line for the first column
These reference lines keep the entire grid straight.
Step 4: Install the first full panel
Start from the bottom corner (typically left). Apply construction adhesive in a zig-zag pattern on the back of the panel. Press firmly into place and check for level and plumb.
If the first panel is perfect, everything else follows cleanly.
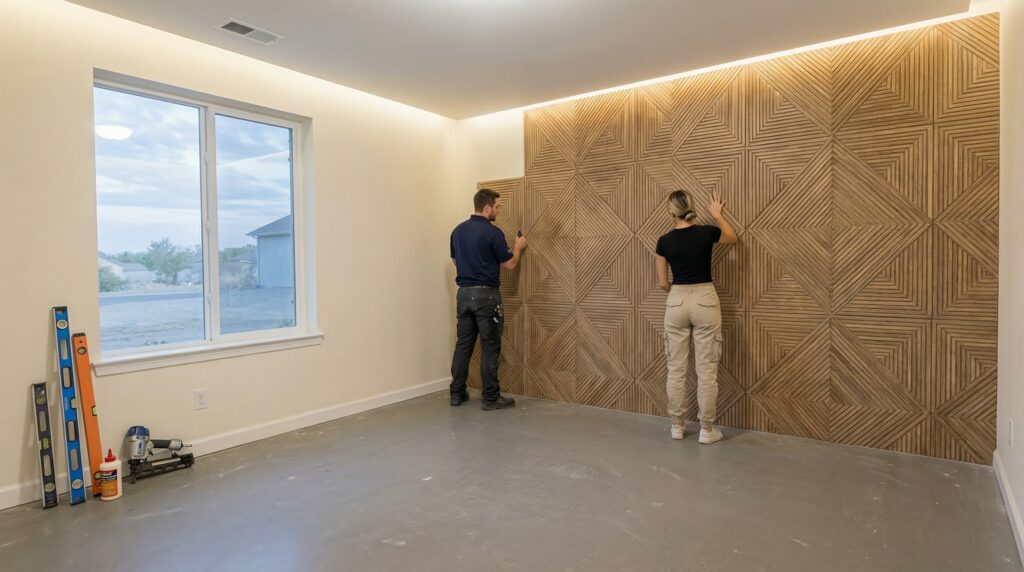
Step 5: Build the wall row-by-row
Continue installing full panels only, edge-to-edge, working horizontally across each row before moving upward. Step back regularly to check alignment and spacing.
Avoid mixing panel sizes or installing fragments in the middle of the wall.
Step 6: Cut panels only at wall edges
When you reach the edges or ceiling, measure carefully and cut full panels to size using a fine-tooth saw. Keep cuts straight and clean—avoid thin filler strips where possible.
Step 7: Finish seams and clean up
Fill any micro gaps with paintable caulk. Touch up edges if required. Clean dust and fingerprints before styling the room.
Tools
- Tape measure & pencil
- Laser level or spirit level
- Mitre saw / circular saw (fine blade)
- Jigsaw or multitool (for outlets)
- Caulk gun
Safety
- Safety glasses
- Hearing protection
- Dust mask