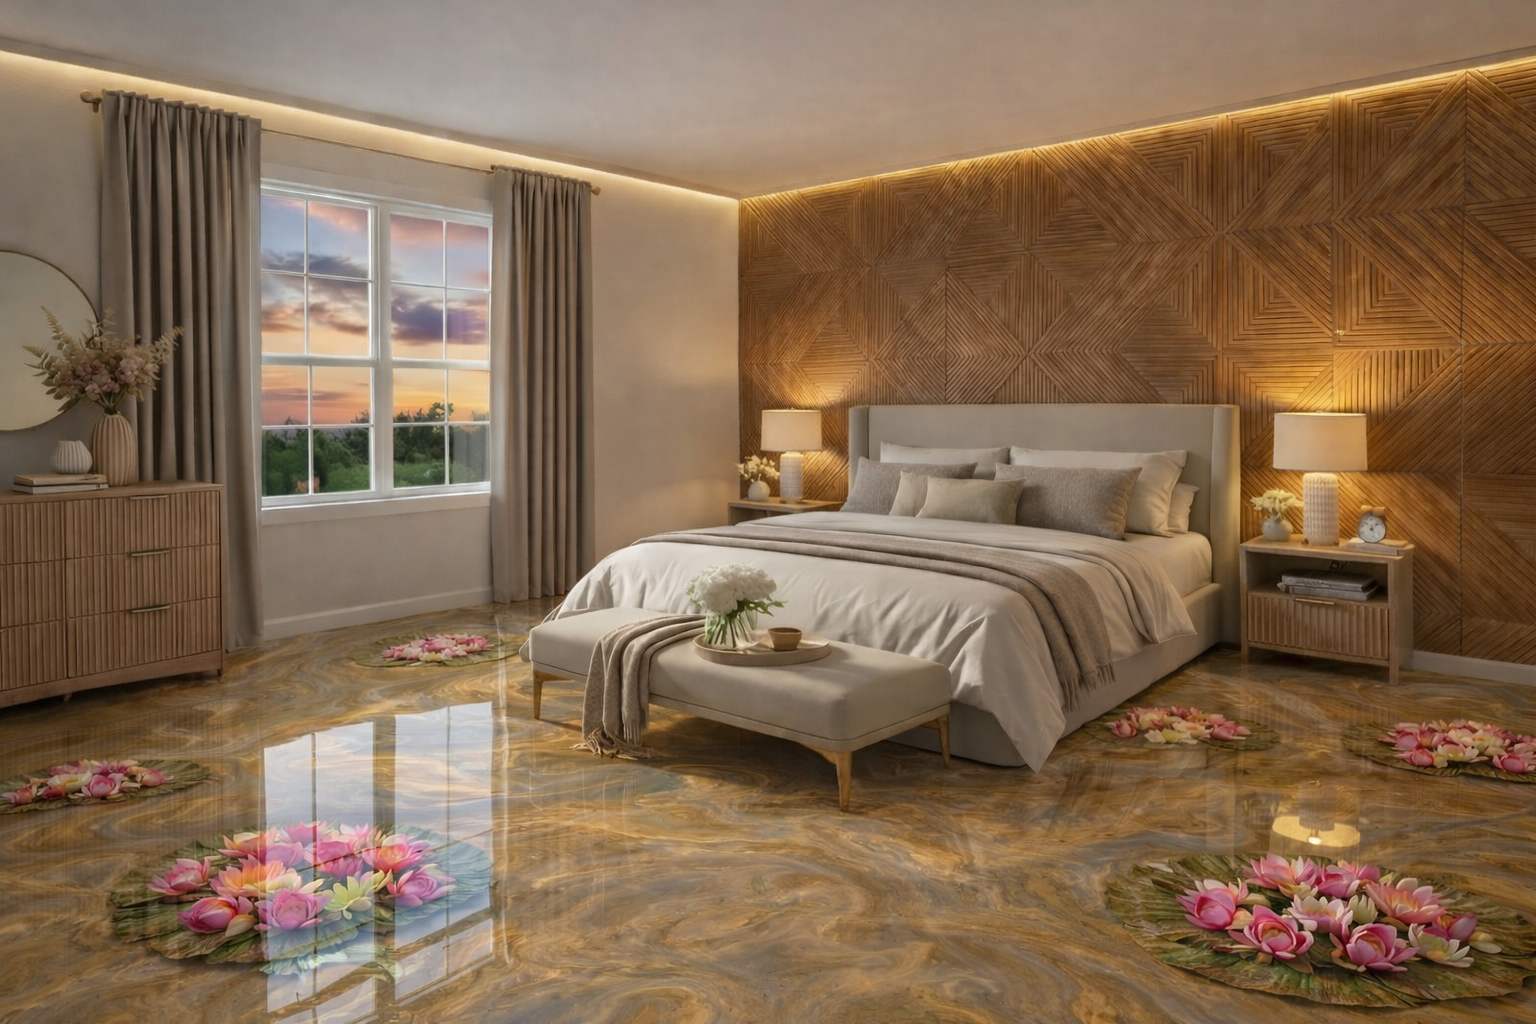
This bedroom renovation focuses on creating a clean, modern feature wall using simple-install modular wall panels, paired with a refined finish that elevates the entire room. The key to success is working in the correct order and taking time on preparation. Below is a step-by-step guide to completing the job properly, without cutting corners.
Buy Items in links below KIT29:
 Art3d 3D Wall Panels, 24″ x 48″, Stone Yellow PU Wall Panels for Interior Wall Decor, 4 Pack
 Pipishell 2-Tier Shoe Storage Bench with Cushioned Seat, Entryway Bench
 Walnut Floating Shelves for Wall
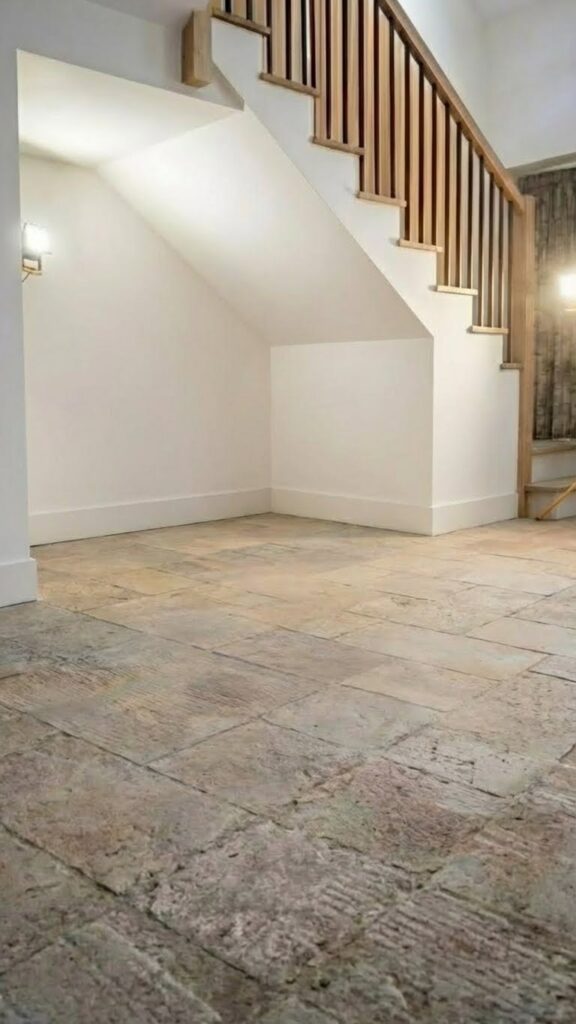
Step 1: Clear and assess the room
Start by removing all furniture, fixtures, and wall hangings. Inspect the wall for damage, uneven areas, or loose material. A clean, empty space makes layout and installation far easier and prevents mistakes later.
Step 2: Prepare the wall surface
Remove hooks or screws and patch all holes using wall filler. Once dry, sand down any bumps or high spots so the wall is smooth and flat. Wipe the wall clean with a damp cloth to remove dust. If the wall has a glossy finish, lightly scuff it with fine sandpaper so the adhesive can bond properly. This step is quick but critical for long-term durability.
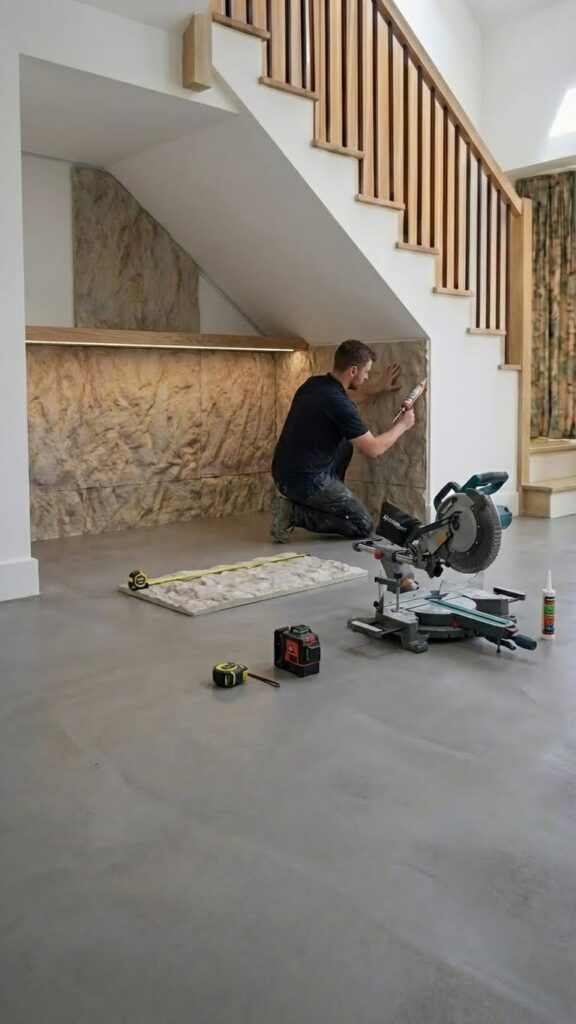
Step 3: Set level and plumb reference lines
Using a laser level (recommended) or a spirit level, mark a horizontal baseline just above the skirting board. Then mark a vertical plumb line for the first column of panels. These reference lines ensure the entire wall stays straight and square. Take your time here—any error at this stage will multiply as panels go up.

Step 4: Dry-plan the panel layout
Before applying adhesive, dry-fit or visually plan how the panels will sit. The goal is to install full panels in a clean grid, with cuts only at the edges. Avoid thin filler pieces in the middle of the wall, as they cheapen the finished look. Adjust the starting position if needed to balance cuts on both sides.
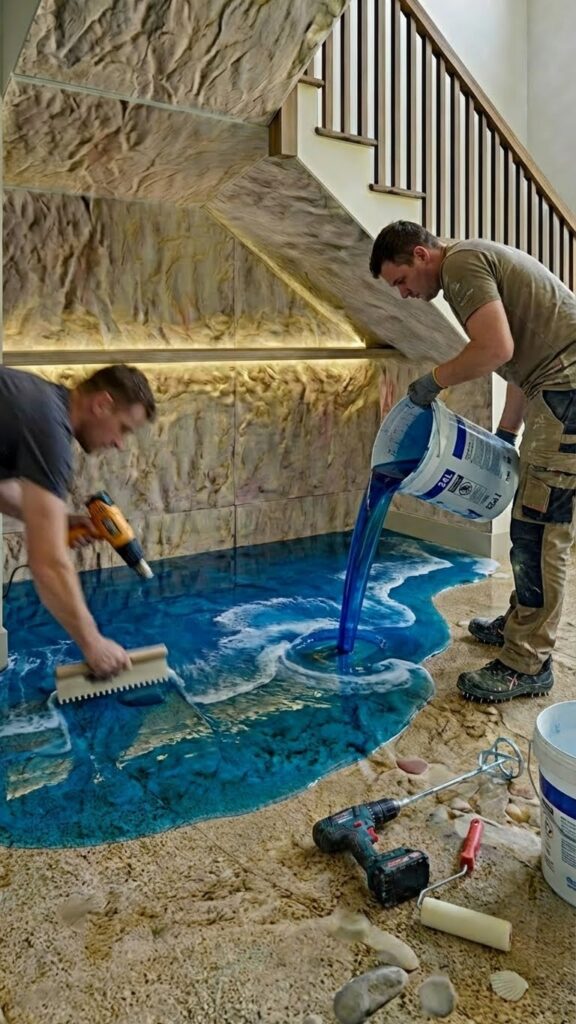
Step 5: Install the first panel
Apply construction adhesive to the back of the first panel in a zig-zag pattern. Press it firmly into place, aligning it exactly with your level and plumb lines. Check it carefully—this panel sets the standard for the entire wall.
Step 6: Continue panel installation
Work row-by-row, installing full panels edge-to-edge. Regularly step back to check alignment and spacing. Use a level as needed to confirm the grid stays straight. Measure carefully when approaching edges, power points, or corners, and cut panels cleanly with a fine-tooth saw.
Step 7: Finish edges and clean up
Once all panels are installed, fill any small gaps with paintable caulk. Touch up edges if required and clean the wall to remove fingerprints or dust. Turn on the lighting to check for shadows or imperfections and make final adjustments.
Step 8: Final styling
Reintroduce furniture one piece at a time, keeping the layout simple to let the feature wall stand out. Warm lighting and minimal accessories help highlight the texture and craftsmanship of the panels.
By following these steps, you can achieve a professional, high-end finish that transforms the room without unnecessary complexity.